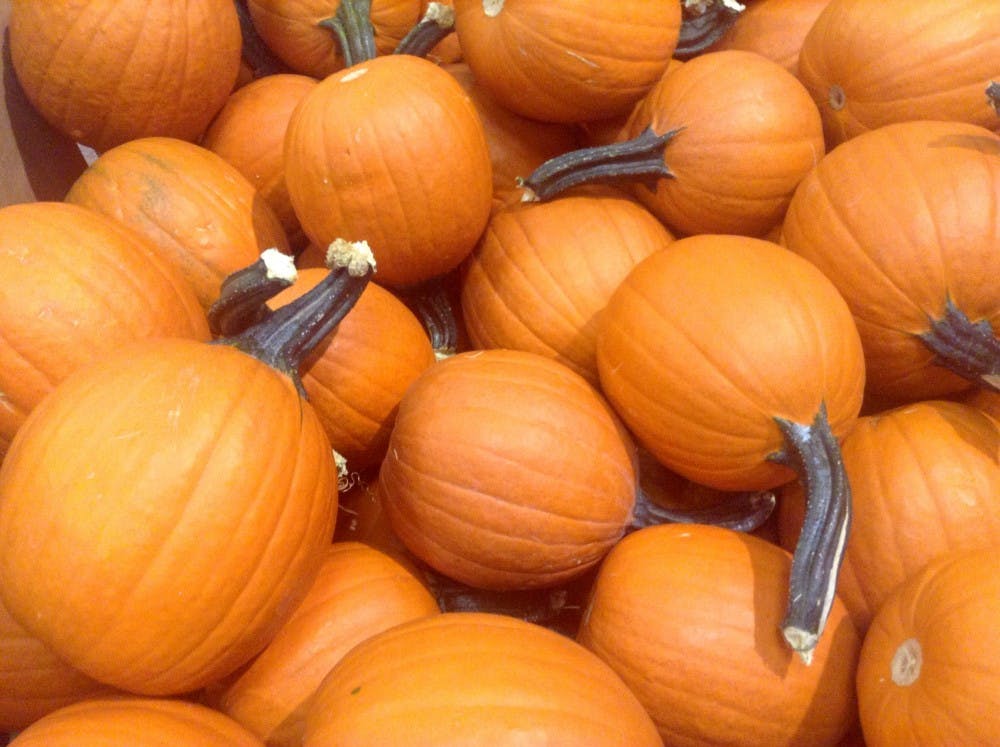
Okay—it’s officially fall. By now, you’ve probably made a trip out to Linvilla with your sorority sisters (if you don’t post an Insta with the caption #LINvilla did you even go?) and you probably bought a pumpkin or two because they were cute and you’re totally gonna carve them and drunk people are definitely not gonna smash them within an hour of their existence…
We feel you though—fall is fun. So, here are some hacks to make your carving endeavors painless and easy to replicate in the event of the inevitable smashing.
To make your life easier
-
 When you cut the top off, cut a rectangle out of the back as well (keep them attached, obviously). This will make scraping your pumpkin out SO much easier.
 - Draw any lines on with a dry erase marker instead of a sharpie so you can wash off any imperfections (duh…)
- Coat the inside of your pumpkin with Vaseline when you’re done to keep it #fresh for longer.
- Relatedly, use an electric candle instead of a traditional one to make your pumpkin live longer.
- Use an ice cream scoop to get the guts out (these are literally made for this…)
For the more ambitious carvers (read: the assholes)
-
 If you’re going for a fancier design but don’t think you can execute it free hand, order some cute cookie cutters on Amazon, place them on your pumpkin and take a mallet to them. No one will ever know…
 - Break out the power tools (Ed. note: this is why these people are assholes…). If for some reason you have an electric drill on hand, these are great for small, intricate holes.
- Trace your design onto the pumpkin, use a dry erase (see above).
- Cut SLOWLY. Have PATIENCE.
- For the really intricate designs that don’t cut all the way through the surface, cover the outside of the pumpkin with Vaseline as well to preserve it.
 Bonus: roast the pumpkin seeds
- Wash well to remove excess pulp
- Use 2 tablespoons of vegetable oil to 2 cups of seeds
- 1 tablespoon of salt
Place the seeds on a baking sheet and roast at 250 degrees until lightly brown, for about 1 hour.

